
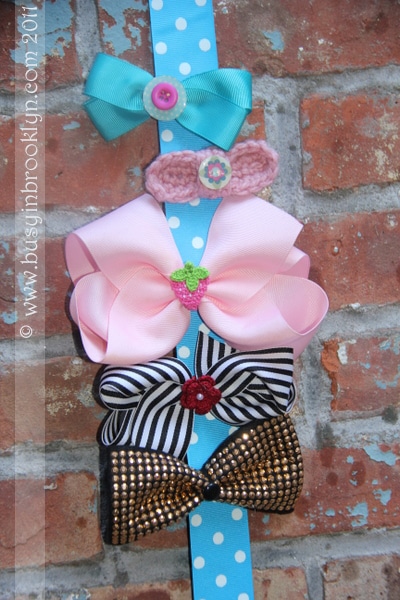
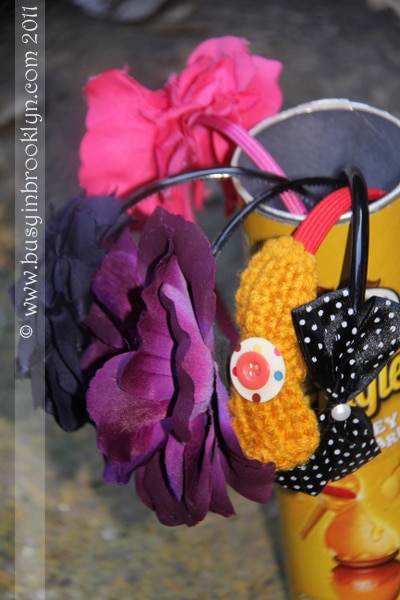
If you have little girls, you know what it’s like when they come home from school with yet another broken headband (or better yet, without their headband…this I can’t help you with). I’ve even started a little bin with all those bows that won’t snap closed, the ribbons that have unraveled, and the headbands that have all but fallen apart. Every couple of months, I go through my stash and bring new life to the tangled mess.
To do this, you’ll need your own assortment of ribbons, headbands and embellishments. I always keep my eyes open for these when I’m in a Family Dollar or a cheap variety store. You can stock up on plain headbands, cheap ribbons and buttons to keep for future projects. There are no instructions for these – just heat up your glue gun and get creative!


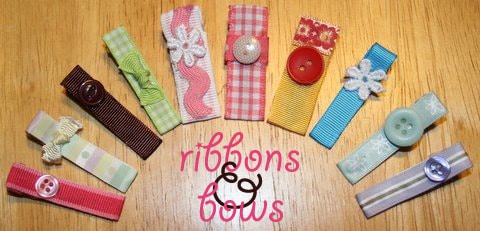
Every pretty bow starts off with a clip. Alligator clips are easy to use and don’t break as easily as others. You can purchase them on Etsy. For a finished look, you’ll want to cover it in ribbon. You can embellish them with buttons, crystals and beads. Here’s how!
First, you’ll need to measure your ribbon to see how long it should be. Place the ribbon inside the clip. Close the clip and wrap the ribbon around, leaving some room around the indent where the spring is. The ribbon should end at the back of the clip, right on top of the opening (see picture). Cut ribbon to size. To remove the frayed edges, hold the ribbon close to candle (don’t put inside the fire, just very close to the heat), you’ll see the thread start to shrivel up. Now, repeat the same steps you did to measure the ribbon, but this time use your hot glue gun to glue it down (see picture). Embellish your ribbon clip with buttons, embellishments or a bow.
1 year ago: shell stitch crochet hat
I love this idea!I have 3 little girls and have started making my own hairbows for them. I watched hairbow making tutorials on youtube, simple and easy, and bought all the supplies in Boro Park. They came out so cute!
wow Goldie, good for you! The price of bows in the stores nowadays is crazy, especially if you have a few girls. Keep up the crafting!
I also learned fromyou tube & I took an extra piece of 2″ ribbon, added a key ring to one end (hot gluing the ribbon to make it stick) & hung it in a hanger on the inside of the closet door. Now my girls know where to find & put the clips
Yes, those are great to have. You can make cute ones too to hang on your wall (Etsy has lots of great ideas).
So beautiful. Thanks for the step by step guide. I always think these things are really nice but I could never do it. With your clear photos it’s easy to envision the process from beginning to end. Merci Beaucoup.
Our pile of broken headbands is huge! Where can I get a hot glue gun? What type of store?
Any crafts store should have them. You can also find them at stores like Target and Walmart.
Are there any tips to getting the ‘dimple’ on the bows just right? They look so perfect in your photos….
I just pinch it together. You can put some glue inside the crevices to hold the pinch together.
Love the tealight idea! I sit & strike a match everytime I need to seal an edge!!
I used to do that too :)
great ideas! When my daughter was younger I did a similar project to keep her oversize barrettes in order – I took a very wide ribbon and cut rows of double slits – all her barrettes clipped into place and hung as a display when she wasn’t wearing them.
Thanks for sharing this wonderful collection of hair bows and clips. It’s a great idea to create hair bows. Keep it up !