Category: Crocheting

Crocheted Pacifier Clip

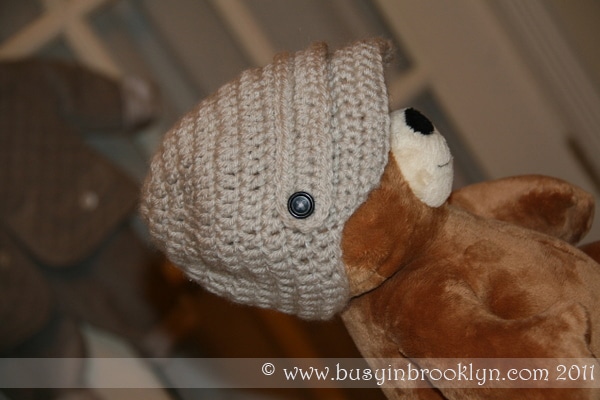
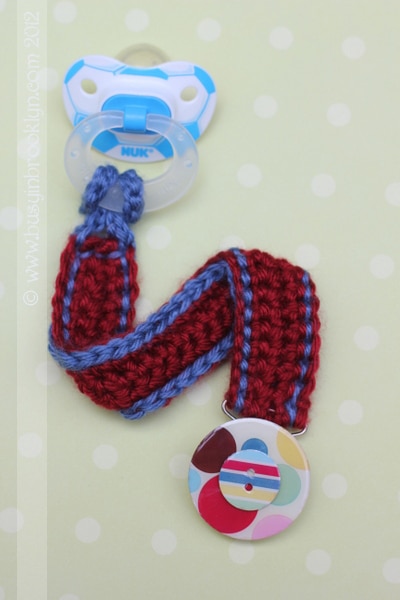
When I haven’t crocheted in while, I always think I’m going to forget what to do. But honestly, it’s just like riding a bike. The second I put that crochet hook into my hands, it just goes. In this case, my friend had recently had her 5th child and being her fourth boy, I just did not know what to get her. She had all the baby equipment she needed, all the toys you could think of, and plenty of boy clothes to go around. So I asked her straight out and all she really wanted was a pacifier clip (and help with making dinner!) Helping with the food was a given, but I also wanted to make her gift a personal one. Crocheting the pacifier clip made for an adorable gift and gave it the personal touch I was looking for.

This crochet project is super easy and perfect for beginners. You can use any yarn scraps you have lying around as well.

Supplies:

size f hook
worsted weight yarn in 2 colors
Tapestry needle
pacifier clip (available on Etsy)
buttons or other decorative accents

How to:

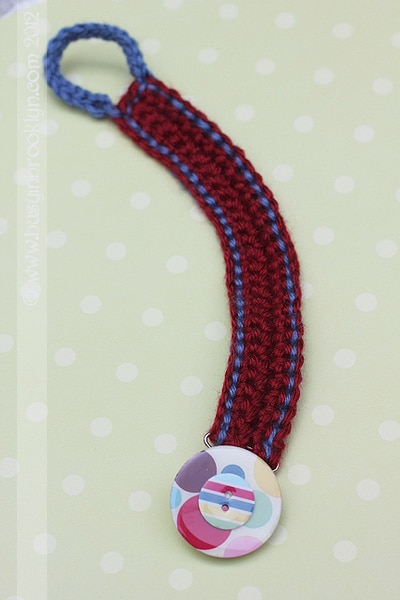
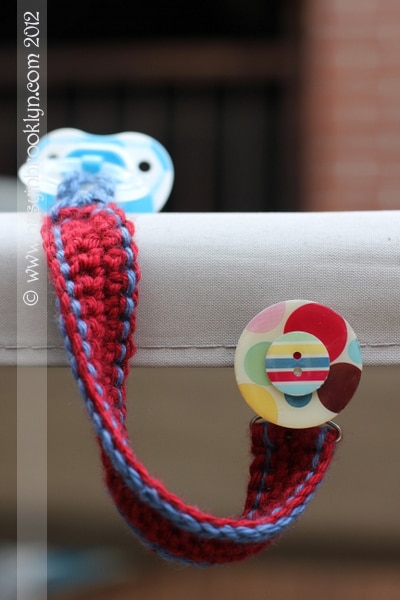
Crochet a chain of 30 stitches. Single crochet (sc) in each stitch across. Repeat until you have reached exactly the width of the loop of your pacifier clip (should be 4-5 rows). With a contrasting color, slip stitch all around and weave in the ends with a tapestry needle.

Pull the top of the crocheted strip through the loop of the pacifier clip and fold over. Sew the folded edge down with a tapestry needle.

To form the loop that holds the pacifier clip, crochet a chain of about 18 stitches. Slip stitch through each stitch to reinforce the chain. With a tapestry needle and some strap yarn, attach the chain to the ends of the strip you made earlier, forming a loop (or you can just continue to crochet into it and secure together with a chain or two).

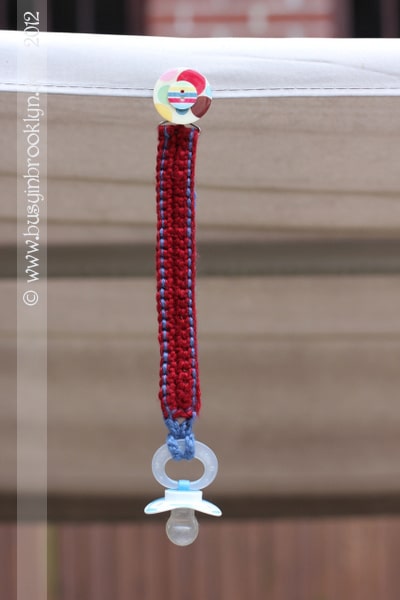
Decorate the top of the pacifier clip with a button, applique or decoration of choice (that complements the colors of your yarn).

To attach the pacifier to the crocheted loop, pull the loop through the pacifier ring and pull the opposite end of the pacifier clip around the ring and through the loop. Pull to tighten.

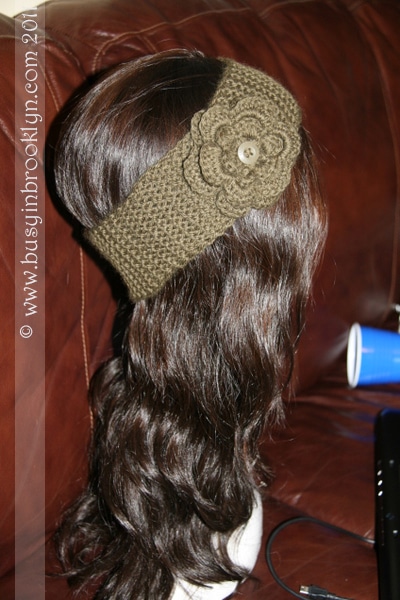
1 year ago: headbands in a pinch

Post a Comment

Easy Crochet Apple Trivet

When I imagine getting old, I like to think of myself sitting on a rocking chair on a porch somewhere, crocheting. It doesnt have to be for oldies though. In fact, I think crocheting keeps me young. There’s something about sitting down with a ball of yarn that I find so peaceful and relaxing. It really helps me unwind. When I have some free time, especially in the summer months, I love to whip up quick and easy crochet projects in the cool summer breeze.

I recently purchased these cork trivets at Ikea. Trivets really come in handy, especially when cooking for Shabbos. At $2.99 for a 3-pack, they were really a steal and I just couldn’t pass them up. They were not too exciting as far as looks go, so I decided to crochet some fun designs around them.

Since they are made of cork, you can use these for your hot pots, or as little bulletin boards in your kids room!

Post a Comment

Baby Boy Newsboy Cap


The best thing about crocheting, for me, is that I can always create the perfect accessory to complement an outfit for my kids. I just go to the yarn store, find a matching color and create hats, bows, headbands or flowers (to sew to socks, shirts, or glue to a clip or headband). My mom purchased the most adorable outfit for my son for Pesach and I knew I had to have the perfect hat to go with it. When he was just born, I made him an aviator style earflap hat to go with his snowsuit, but for this snazzy outfit, and my baby no longer an infant, I envisioned a newsboy cap. I’ve never made one before, so I searched the web for a pattern to create the visor/brim. I found an easy pattern for girls, which I adapted, to create the most adorable cap for my little one.


Baby Boy Newsboy Cap

To create the basic cap, follow the instructions for the “Cheri Hat” here.

To create the strip above the brim, ch30. DC in each stitch across. Slip stitch all around. Sew button on each side of the strip and sew or glue strip to the top of the brim.

Post a Comment

Purim Busy Bees


I like to look out for good deals on costumes during the post-Halloween season. I found these adorable bee costumes for my girls on Carters.com, and I just had to buy them.

After having a baby recently, I realized I would need a matching bee costume for him too. But instead of spending the money on a bunting outfit that would probably be hot and uncomfortable, I decided to crochet a bee hat, and just dress him in all black. With Purim soon approaching, I ordered black and yellow yarn, and crocheted the hat a few days ago. I love how it turned out!

Post a Comment

The New Chic Ear Warmer


It was Whitney Port, from “The City” who popularized the updated Ear Warmer look in 2009. Anthropologie was the first to introduce the modernized version, in a knitted light-grey tone, called the “Roaring Rose Headwrap.” Now these bands are all the rage, available in stores and online, in every color and style. I’ve made a few in the last year, both knit and crochet. They are incredibly easy to make and warm too!

I like the monochromatic look with the headbands, but I did make my daughters a colorful one to go with one of their skirts. It really completed the outfit (see pictures below). Go ahead and experiment with different color flowers and embellishments.

Post a Comment